
Quick Navigation
- Why zoanthids catch out good reef keepers
- Light for zoanthids, less than you think
- Flow, gentle and indirect
- Placement, on rock and left alone
- Water chemistry and the nutrient point that catches clean tanks
- Adding new colonies, acclimation and dipping
- Feeding zoanthids, helpful rather than essential
- Pests and problems to rule out
- Palytoxin, an important safety note
- Troubleshooting zoanthid care at the tank
- FAQs
If your reef tank is doing well but your zoanthids are the one coral you cannot seem to keep, you are not alone, and good zoanthid care is rarely about skill. I speak to reef keepers every week whose SPS are colouring up beautifully and whose LPS are fat and open, yet whose zoas close, brown out, or melt away for no obvious reason. It is one of the most frustrating situations in the hobby, precisely because everything else in the tank looks so healthy.
I am Darren, and I have spent more than 18 years working with live marine foods and reef systems here in Wales. In that time I have watched countless keepers wrestle with this exact problem, and I have learned that zoanthids simply care about a different set of things than most corals. This guide pulls together everything I know about zoanthid care, from light and flow to the nutrient trap that catches out clean tanks, the pests that hide in plain sight, and an important safety point that every zoa keeper needs to understand.
Why zoanthids catch out good reef keepers
Here is the idea that unlocks most zoanthid care problems. If your other corals are thriving, your tank is fundamentally sound. There is nothing wrong with your husbandry. Zoanthids are just sensitive to a different combination of factors, so a tank that suits your Acropora or your Euphyllia can quietly work against your zoas.
Most corals struggle when a tank is dirty. Zoanthids often struggle when a tank is too clean, too bright, or too fast. In the wild, zoanthids and their close relatives grow in shallow, slightly turbid, nutrient rich water, with gentle swirling flow rather than powerful directional current. A pristine, high flow, high light system that grows stunning small polyp stony coral can leave a colony of zoas sulking with their polyps clamped shut for weeks.
The four things zoas care about most, in rough order of importance, are a touch of nutrients in the water, gentle indirect flow, moderate light, and being left undisturbed long enough to settle. Pests are the fifth factor, and they account for most of the cases where a colony was doing fine and then suddenly declined. Good zoanthid care is really just a matter of getting these five things into balance, and the rest of this guide takes each of them in turn.
Light for zoanthids, less than you think
Zoanthids are primarily photosynthetic, which means they rely on symbiotic algae in their tissue to make most of their energy from light. They do need light, but they are a low to moderate light coral, and this is where a lot of zoanthid care goes wrong from the very first day. A comfortable target sits at roughly 75 to 150 PAR. They can adapt higher over time, but strong light dropped on them suddenly is one of the most common reasons a fresh colony shuts down and browns out.
If you keep small polyp stony coral up near the surface under intense light, that is exactly where your zoas should not go to begin with. Start them lower and shadier, then let them tell you what they want. Zoas that are happy will stretch out, colour up, and multiply across the rock. Zoas that are getting too much light tend to close, go flat, or lose their bright pigments and turn a dull brown. That browning is the algae inside them multiplying to cope with the excess light, and it is a clear signal to move them down or dial the intensity back.
If your light is dimmable, wind the intensity back for the area your zoas sit in rather than shuffling the colony around every few days. Give any change two to three weeks before you judge it. Patience is the single most underrated part of zoanthid care, because zoas reward a stable, consistent environment and punish constant fiddling.
Flow, gentle and indirect
Zoanthids like moderate, indirect flow that keeps detritus from settling on them but never blasts them directly. Get this wrong in either direction and the colony suffers. Too much flow and the polyps stay clamped shut, unable to open to feed or catch the light they need. Too little flow and debris settles on the mat, smothering the tissue and irritating it until the polyps refuse to open.
You are aiming for the kind of gentle, shifting current that makes the polyps sway just slightly. If you can see the heads bending over in the current, or you have a colony that simply never opens, flow is very often the culprit. The fix is usually as simple as turning a powerhead a few degrees so the stream glances past the colony rather than hitting it head on. In my experience, flow is the most overlooked factor in day to day zoanthid care, because keepers naturally assume more flow is always better for corals. For zoas, it is not, and correcting the current is often the fastest win in zoanthid care.
Placement, on rock and left alone
Start zoas in the mid to lower third of the tank, on rock rather than on the sand bed. Placing a colony on sand invites two problems. Detritus collects around the base where flow is weakest, and grazing snails or shifting substrate can bury or irritate the polyps. A frag plug or a small piece of rock, wedged into the aquascape where flow is gentle and light is moderate, gives a colony the stable footing that good zoanthid care depends on.
Once a colony is placed and settled, resist the urge to move it. Every relocation resets its acclimation to light and flow, and starts the settling clock again. Pick a spot you think is right, then give it weeks rather than days. If a colony clearly hates its position, staying closed for a week or more with no sign of a pest, move it once to somewhere lower and shadier and then wait again. Constant relocation is one of the quiet killers of good zoanthid care.
A little separation from other corals helps too. Zoanthids wage a slow chemical war with their neighbours, releasing compounds into the water to defend their patch of rock, and they can be on the losing end of that exchange when placed too close to aggressive large polyp stony coral or leather corals. Give a new colony some clear rock of its own rather than tucking it up against something established. If you want to understand how corals feed and compete more broadly, my complete beginners guide to coral feeding is a useful companion to this one.
Water chemistry and the nutrient point that catches clean tanks
Zoas are not especially demanding about the exact numbers on your test kits, but they are demanding about stability. Swings upset them far more than a reading that sits a fraction outside the ideal range. Keep your parameters steady and you are most of the way toward solid zoanthid care. The table below gives the targets I aim for.
| Parameter | Target for zoanthids | Why it matters |
|---|---|---|
| Temperature | 24 to 26 C, held steady | Stability matters more than the exact figure |
| Salinity | 1.025 to 1.026, about 35 ppt | Match your top up and mixing to avoid drift |
| pH | 8.1 to 8.4 | A stable daily range is the goal |
| Alkalinity | 8 to 9.5 dKH | Sudden alkalinity swings close zoas fast |
| Nitrate | 5 to 25 ppm | Some nitrate is genuinely good for zoas |
| Phosphate | 0.03 to 0.10 ppm | Detectable phosphate supports colour and growth |
This is the single point that catches out keepers of cleaner reefs, and it is worth reading twice. Zoanthids like a little in the water. If your nitrate is reading close to zero and your phosphate is undetectable, your tank may simply be too lean for zoas, even while your other corals look perfect. Ultra low nutrient systems, built on heavy skimming, carbon dosing, and banks of media, are wonderful for small polyp stony coral but are a common hidden reason that zoas will not thrive.
If everything else in your zoanthid care is right and the colony still refuses to spread, suspect a tank that is too clean before you suspect anything else. Letting nutrients drift gently up into the ranges in the table above, by feeding a little more or easing off on aggressive export, is very often the single change that turns a struggling zoa colony around. I go deeper into the relationship between nutrients and the microscopic life in your tank in my article on the ways phytoplankton impacts your reef.
5 Species Phytoplankton

£6.99
5 Species Phytoplankton Blend: Build a Thriving Marine Ecosystem Your corals are open, your fish are healthy, and your parameters are clean. But something about the tank feels thin. The microfauna community never quite established. Your copepod population does not… read more
Adding new colonies, acclimation and dipping
Most zoa disasters arrive on the coral itself rather than developing in the tank, so how you introduce a new colony is a huge part of long term zoanthid care. Two simple habits prevent the majority of problems before they start.
Acclimate slowly
Float the bag to match the temperature of your tank, then drip or add small amounts of your own water to the bag over 30 to 45 minutes before placing the colony low and shaded. Zoanthids ship in water that has usually drifted well away from your tank conditions, and a slow acclimation prevents the shock that makes a new colony clamp shut for weeks. A gentle start is far easier than trying to coax a sulking colony back later.
Always dip before it goes in
A coral dip made for the job clears the hitchhikers you cannot see. Dip the colony for the time stated on the bottle, using a turkey baster to blow gently between the polyps and dislodge anything hiding in the mat, then rinse in clean saltwater before placing it in the display. Never pour the used dip into your tank. This one step heads off most of the pests covered in the next section, and it is the cheapest insurance in all of zoanthid care. Quarantining new zoas in a separate tank for a few weeks, if you have the option, is better still.
Feeding zoanthids, helpful rather than essential
Because zoanthids get most of their energy from light, you cannot feed them better the way you would feed a hungry fish. What feeding does is improve colour, encourage the colony to spread, and, just as importantly, maintain the healthy level of nutrients and microscopic life in the water that zoas quietly prefer. Feeding is therefore a genuine part of zoanthid care, but it works differently than most people expect.
Zoas feed on very fine particles rather than meaty chunks. Their polyps are small, and they capture tiny food items from the water column along with dissolved nutrients absorbed straight through their tissue. Fine coral foods, amino acids, and phytoplankton all suit them well. Because zoas thrive when the water carries some life and some nutrient, feeding phytoplankton does a useful double job. The polyps take some of it directly, and the phytoplankton also feeds the copepods and microfauna that keep the whole system gently alive in exactly the way zoas like.
This is where our own 5 Species Phytoplankton earns its place in a zoa tank. It is a live blend of Nannochloropsis oculata, Nannochloropsis gaditana, Tetraselmis suecica, Pavlova, and Thalassiosira weissflogii, which gives a broad range of cell sizes and nutritional profiles rather than a single species. For general reef dosing I suggest 1ml per 27L for light feeding, 1ml per 18L for medium, and 1ml per 9L for heavy feeding, added a few times a week. If you prefer something even simpler, Reef Juice is dosed at 5ml per 100L once or twice weekly, and Live Reef Flourish at 1 to 4 drops per 80L daily. For a grab and go option there is also Phyto Shot.
Alongside phytoplankton, a small regular addition of live zooplankton keeps the microfauna population topped up and gives filter feeding corals and fish something to hunt. Our Live Zooplankton blend of copepods and rotifers works well for this, and the ready to use Zoo-Shot pouch is an easy way to spot feed a coral rich rock. A healthy population of Live Copepods also grazes detritus off the rock and helps keep zoa mats clean. The principle matters more than any single product though. Keep the water lightly fed rather than stripped bare, and dose modestly and consistently rather than in occasional large hits. If you want the full picture on feeding corals, my guide to growing coral at home ties feeding into the wider picture of a maturing reef.
Live Zooplankton

£13.99
Live Zooplankton You've added a new coral and watched it stay closed for weeks. Your SPS aren't extending the way they should. Your fish are present and your water is clean, but the tank feels static, like something essential is… read more
Pests and problems to rule out
If a colony was doing fine and then declined, with polyps closing, melting away, or disappearing in patches, a pest moves to the top of the list. This is the part of zoanthid care that keepers most often miss, because the culprits are small and superbly hidden.
Zoa eating nudibranchs
These are the classic hidden killer. Zoa eating nudibranchs are small, brown, and frilly, growing to around a centimetre, and they are camouflaged almost perfectly against the zoa mat. They hide among the polyps by day and lay their eggs in circular patterns right on the coral. If your polyps are vanishing one by one with no other explanation, remove the colony and dip it, basting between the polyps, then rinse and return it. Repeat the dip every four to eight days, because most dips do not reliably kill the eggs, and a fresh batch will hatch a few days later. Treating dip once as a job done is one of the most common mistakes in zoanthid care.
Sundial snails and zoa spiders
Sundial snails are small, with a flat spiral shell, and they sit at the base of a colony picking away at it, usually at night. Tiny spider like animals sometimes called zoa spiders do similar damage. Both are handled the same way as nudibranchs, through manual removal and repeated dipping. A good habit is to inspect the base of any struggling colony after lights out with a torch, when many of these pests come out to feed.
Zoa pox and plain irritation
Little white spots on the polyps, or a colony that simply will not open with no visible pest, is often plain irritation rather than disease. Flow, detritus, or a grumpy neighbour are usually behind it. Work through the light, flow, placement, and water sections of this guide before you assume you are dealing with an illness, because in most cases the answer is environmental rather than pathological, and sound everyday zoanthid care resolves it.
Palytoxin, an important safety note
This part of zoanthid care matters more than any tip about light or flow, so please read it even if you skim the rest. Zoanthids and their close relatives, Palythoa in particular, can carry palytoxin, which is one of the most poisonous natural substances known to science. In a normal, calm tank, with your hands in the water during routine maintenance, they are perfectly safe to keep and enjoy. Thousands of hobbyists do so for years without incident.
The risk comes from handling them out of water. Scraping, cutting, or fragging colonies, and especially heating rock that carries them, can release toxin. The most dangerous mistake is pouring boiling water over, or otherwise heating, rock that has zoas or Palythoa growing on it, because that can release palytoxin as a vapour that is genuinely hazardous to breathe.
Whenever you handle or cut zoanthids out of water, wear waterproof gloves and ideally eye protection. Never scrub or scrape them dry, and never heat rock that carries them. Keep your hands away from your eyes, nose, and mouth while you work, do not handle them with an open cut on your skin, work in a well ventilated room, and wash your hands and forearms thoroughly afterwards. None of this should put you off keeping zoas. It simply means treating fragging and cleaning with the same respect you would give any strong chemical. If you ever feel unwell after working on zoas, with flu like symptoms, coughing, or a tight chest, seek medical advice and mention palytoxin exposure specifically so the clinician understands what they are dealing with.
Troubleshooting zoanthid care at the tank
When a colony is not happy, work down this list in order. It runs from the most common cause to the least, which is the fastest route to a fix in everyday zoanthid care.
| What you see | Most likely cause | What to try first |
|---|---|---|
| Never opens, stays clamped shut | Too much flow, or too much light too soon | Move lower and shadier, turn flow to glance past. Wait two to three weeks |
| Open but browning and losing colour | Too much light, or water too clean | Reduce light for that spot, let nutrients rise gently into range |
| Will not spread, though it opens | Nutrients too low, nothing to feed on | Feed a little more, ease off skimming and carbon dosing |
| Polyps vanishing one by one | A pest such as a nudibranch or snail | Remove, dip, baste between polyps, rinse, repeat in a week |
| Melting or receding as a patch | Irritation, detritus, or a coral neighbour | Clear detritus off the mat, give it clear rock away from others |
| Fine on the edges but dying in the middle | A detritus trap or dead spot in the flow | Add a little gentle, indirect flow across the colony |
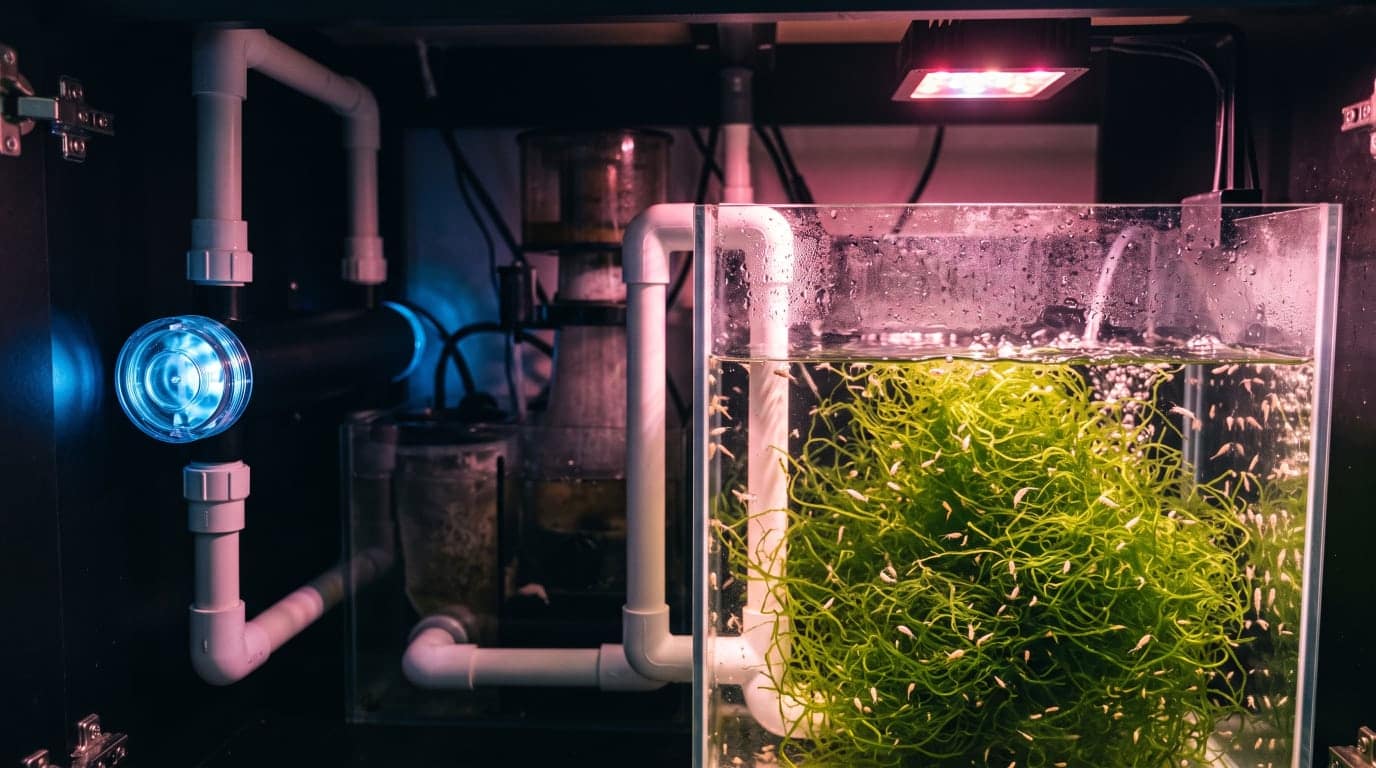
If you take one thing from this guide, let it be that your tank is almost certainly already good. Zoas simply want it a little gentler, a little less bright, and a little less spotless than your other corals do. Change one thing at a time, give it a few weeks, and a struggling colony will usually come round. Good zoanthid care is patient care, and the reward is one of the most colourful and characterful corals you can keep. If you want to build a more self sustaining food web to support your zoas and the rest of your reef, my guide on how to set up a refugium for copepods and natural filtration is a good next read, and a little premium activated carbon run gently will keep the water clear without stripping it bare.
If you have questions about zoanthid care, get in touch. I answer every message personally.
Darren
Founder, Reefphyto Ltd - Wales, UK - Est. 2008